
Why install Turnkey Linux Core in Proxmox as a template, well, I use this container that many times, it will save me time if I need a blank container to install something like Docker, PiHole or other services. I don’t need to build a fresh container every time, I can just right-click the container and clone it.
Get the Template:
Firstly, we need to login to Proxmox either via SSH or on the web interface via the console, this is so we can update the list of containers. Once logged in, run the following command:
$ pveam updateIf done correctly, you should see the confirmation “Update Successful”, after that you can log out of the terminal or console depending on how you logged in.
Next, we go into the Web interface for Proxmox and click on the local storage disk.
From here, we choose CT Templates from the list, then select Templates at the top.
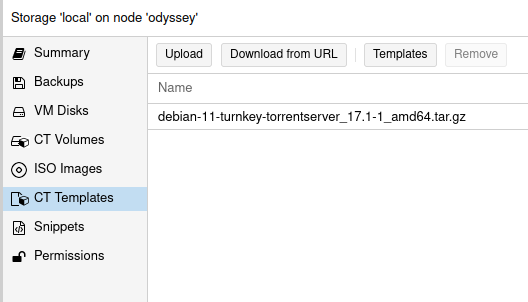
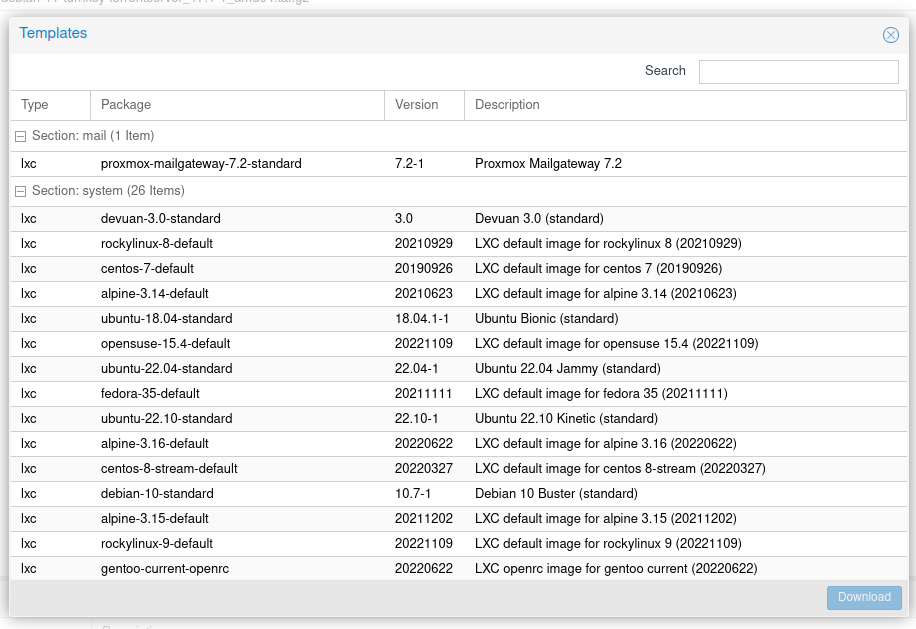
This will give us a list of all the available templates we can download.
In this new window, type core in the search box at the top right. It will give us two options, we want the first one Turnkey-Core, click that then download.
Set up the Container:
Once this is downloaded, you will get a message that says “TASK OK”, just close that window. We can now see our new template. Now we need to create a new container, in the top right corner of the web interface there is a button called “Create CT”
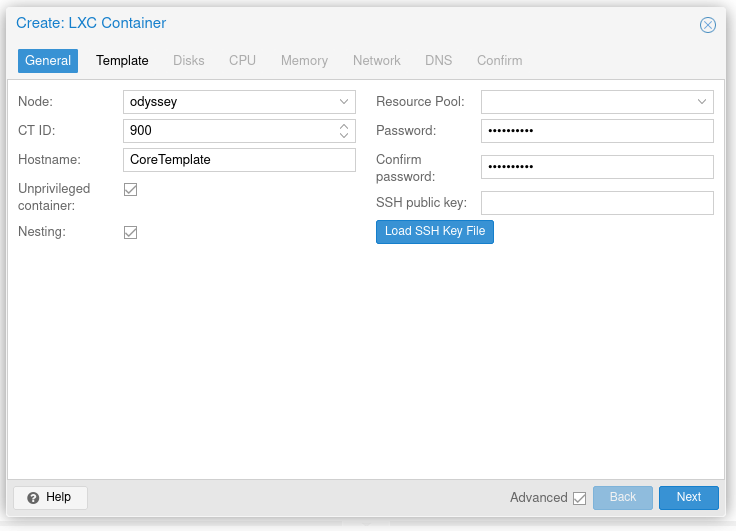
From here we fill out some basic info, CT ID is the number assigned to the container, as it’s going to be a template I use 900 and above, but you don’t have to.
Give it a suitable name, No spaces, Underscores or other special characters.
Insert a password and confirm the password and press Next.
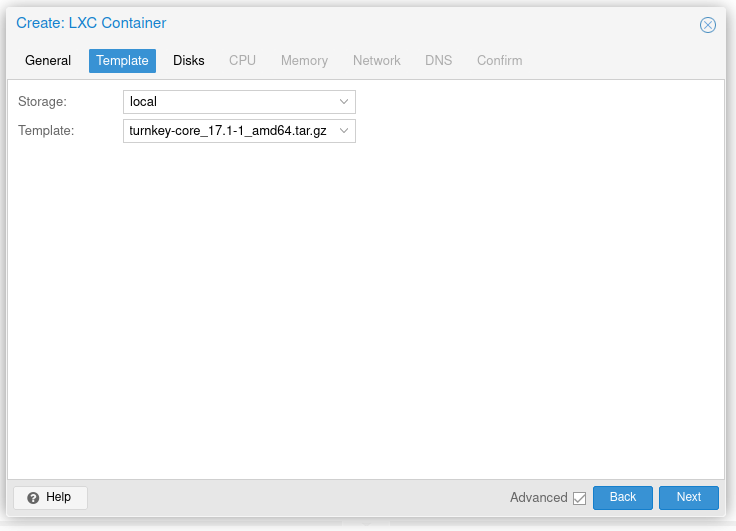
Select the Storage we chose earlier to download the Template and choose the Template Turnkey core from the list and press Next.
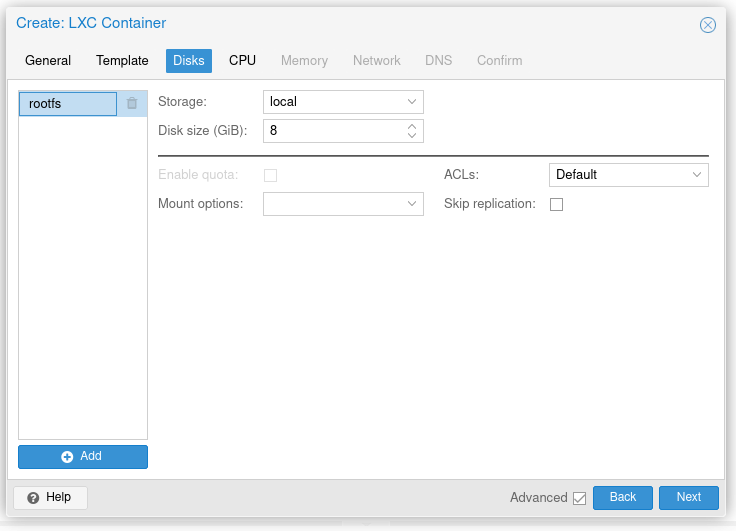
Leave these as they are, as 8 GB is enough for the template to work, and can be expanded later if you need more space.
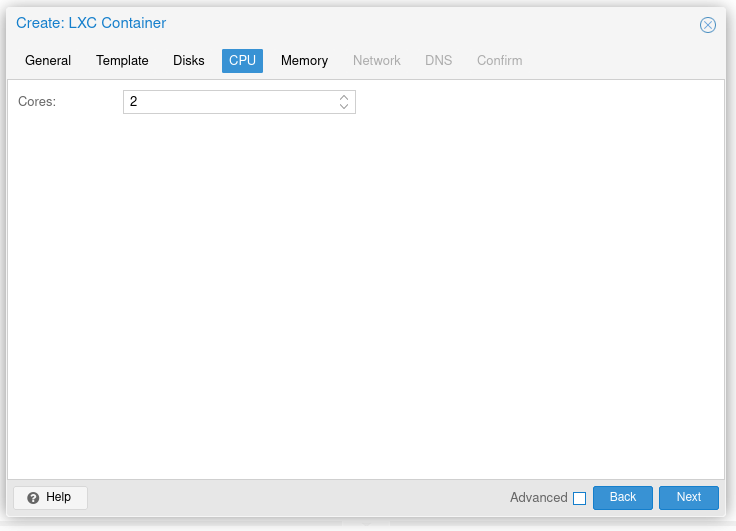
I start with 2 cores, again, this can be changed later when cloning the template for use.
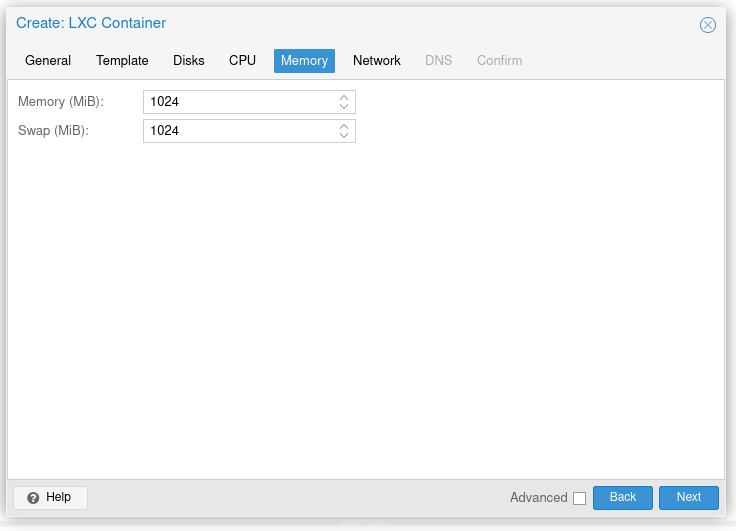
For memory, I’ve used 1024 MB which is 1 GB, this is enough to start the template and can be changed later if needed.
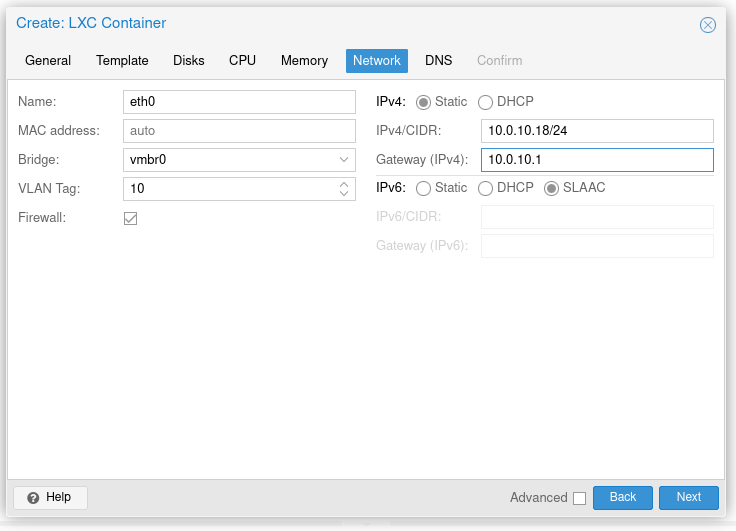
This one might seem complex, but it is not.
Leave, name as eth0 and MAC address to auto, as well as bridge and if you don’t use VLAN tagging just leave it blank too, I use VLAN tags so I’ve inserted mine.
For the IPv4 if you want to you can leave it as DHCP and your router will assign an IP address. Mine does not (I chose not to have DHCP on that VLAN).
Same for IPv6, if you are unsure select DHCP, mine is SLAAC, SLAAC stands for Stateless Address Autoconfiguration, this allows the host to choose its own IPv6 address without a DHCP server.
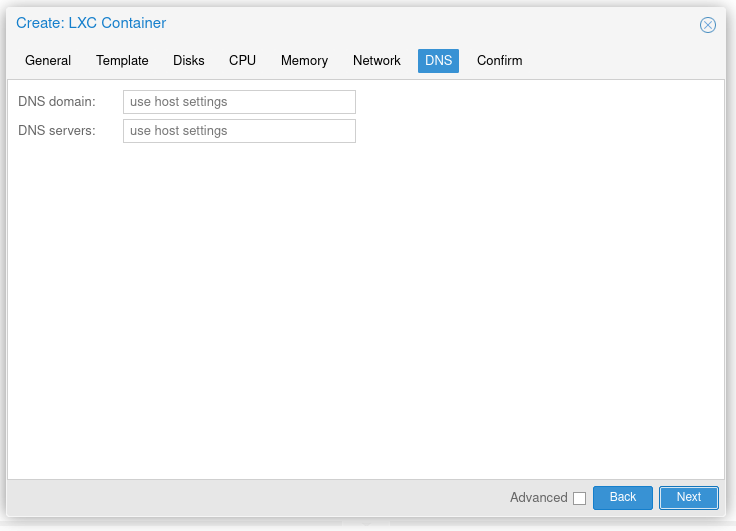
DNS, leave this as it is, unless you need to change it for any reason.
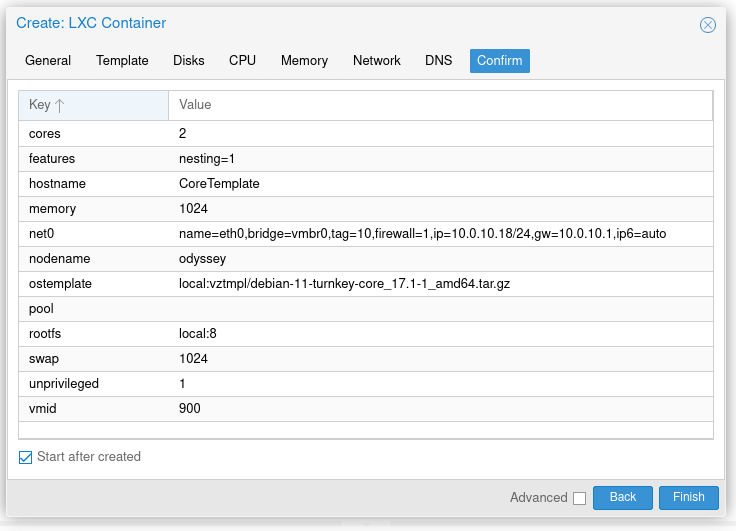
This is the final page, this shows all the settings we have made and gives us the opportunity to change them if needed.
At the bottom left there is a tick box “Start after created”, tick this to start the container, we need to start it to run some updates.
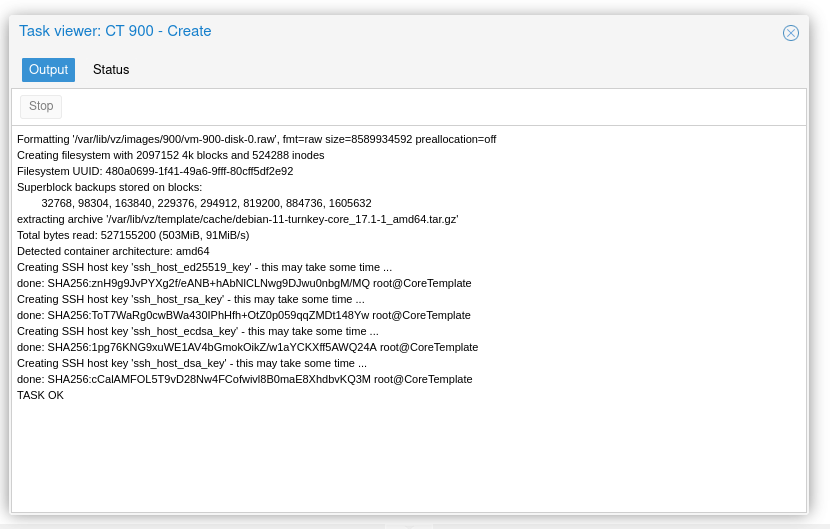
Once done, we will see this and the message “Task OK”, we can then close this box.
Login and Update the container:
Firstly we need to do is to open the container’s console, do this by double-clicking on the container down the left-hand side or by selecting the container and clicking console, I prefer the first option as it opens a new window.
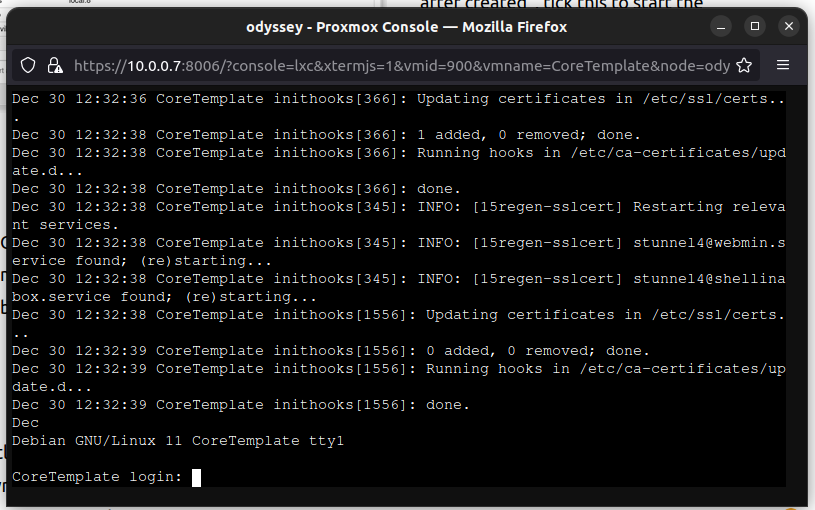
Login using root and the password you set earlier.
Once you login, you will see a series of screens looking like this one, there is no mouse so use the Tab button on your keyboard to highlight and enter to select.
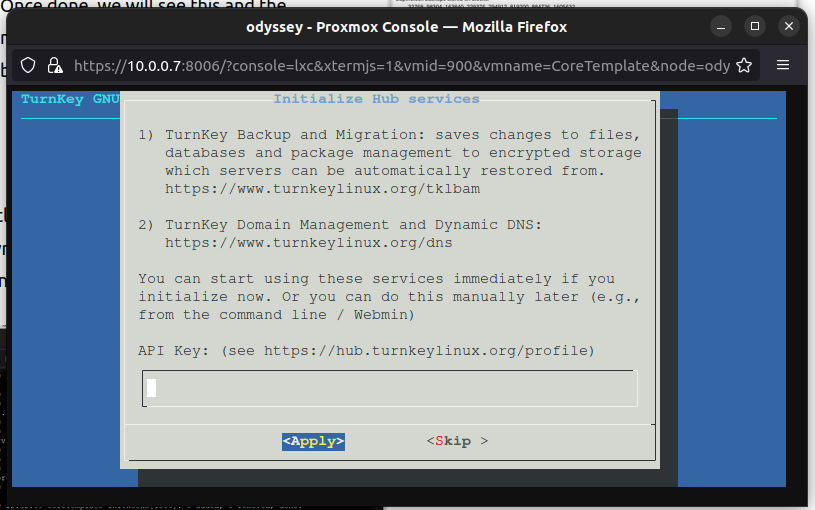
For each of the screens, do the following:
- API Key: Skip this one
- Email: Skip this also
- Security Updates: I found that this sometimes breaks my installation so I skip this also as we will be doing our own updates next, so Skip
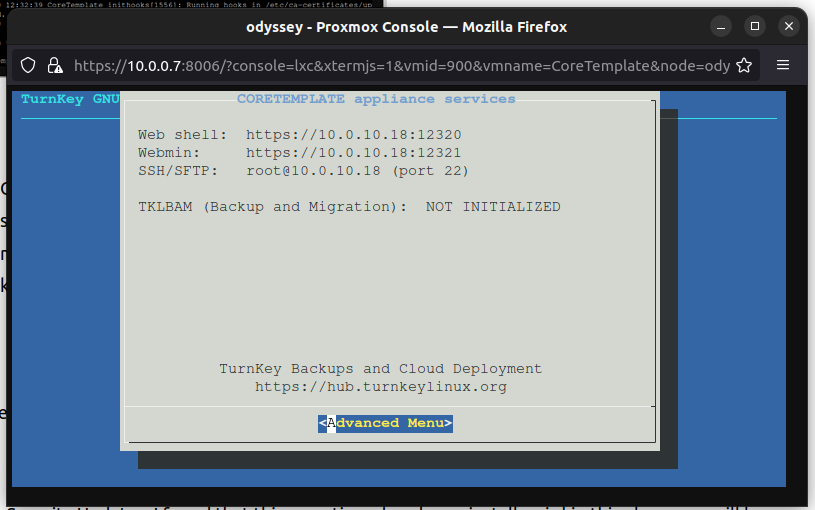
This next screen is useful as it gives us the IP address, where we can use it to either access via SSH if we prefer.
Note: this IP is for internal use only
Select Advanced menu and go down to quit. as we need the terminal for the next part.
Now that we are at a terminal, we can run the following to update before we log out and save the container as a template:
Get the updates and install them:
$ apt update && apt upgradeYou can put a -y on the end if you want to, and it will allow the updates to auto install without you having to confirm them first, depending on your internet speed and hardware this should be quick.
If you get the prompt for postfix configuration, choose OK then “no configuration” as this is not needed. You may also get a prompt for OpenSSH config, choose “Keep the local version currently Installed”.
Once the update has finished, we need to shut down the container:
$ poweroffYou may get a notice saying terminated, you can just exit this window and on the summary screen confirm that the container has stopped before continuing.
Fix a Flaw:
This flaw is to prevent a clash in your network when using the template, if you were to leave the MAC address in the template it would cause a conflict in distributing traffic to hosts on your network, for example if two or more devices had the same MAC address, then they would both receive the traffic from the router, even if one of them didn’t request or need it, you may not notice the error when using the template, but an error may pop up one day, and you may not know why, how or what caused it. Speaking from experience!
Once we have shutdown the container, we need to fix some items that may cause conflict later when using the template.
We need to remove some of the network settings before converting to a template. From the left choose Network and double-click the net0 option.
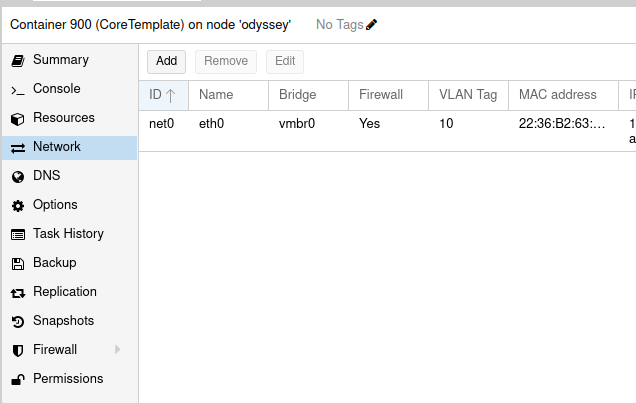
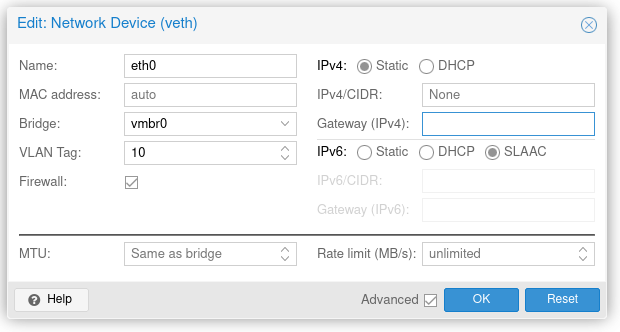
We need to delete the MAC address and the IP address, if you set an IP address, if not leave it as DHCP, then press OK.
Convert to Template
To convert to a template, we simply right-click the container in the list and choose “Convert To Template” then press “Yes” on the next window,
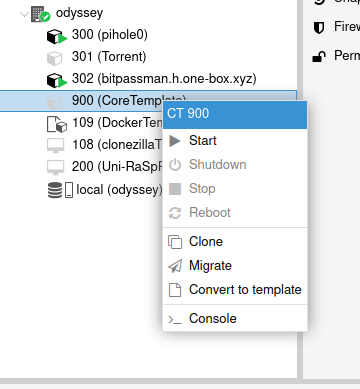
If done correctly, you will see a message below saying something like: “CT 900 Convert to template” and the status as “OK”.
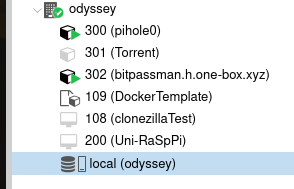
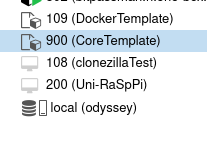
You will also notice that the Icon for the container has changed to a page with a cube on it, like highlighted opposite.
Conclusion:
Well, you made it to the end, Well done!
Why have we made a template? Well, in some of my other tutorials you will notice that I used a ready container, doing this every time you want to create a new project / service will save you time as you will not need to do the above every time.
I hope you enjoyed this tutorial.
Thanks
Chris.
One response
[…] Install Turnkey Linux Core […]