

Today I will be installing Jellyfin server on a VM in Proxmox.
The Jellyfin website lists all the options for installing for the server side as well as the client side (streaming to your device), take a look at their website for more info, but today, I’m installing it on a virtual machine within Proxmox, doing it this way means that you can have one physical computer / server and many virtual computers running within the physical server, also known as a hypervisor. Check out this definition of what a hypervisor is: Hypervisor – Wikipedia.
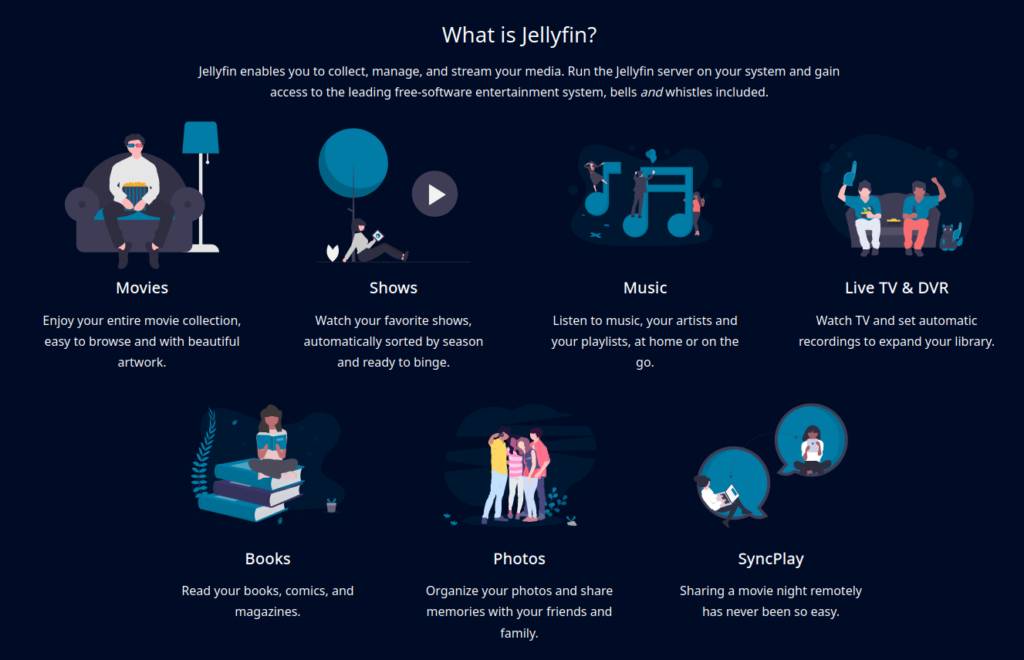
What Is Jellyfin?
“Jellyfin is the volunteer-built media solution that puts you in control of your media. Stream to any device from your own server, with no strings attached. Your media, your server, your way.”
jellyfin.org
I have a lot of media content that I would like to share and stream within my house and to my laptop wherever I am, this should allow me to do all that.
Warning:
Allowing remote access to your devices is not recommended, unless you know what you are doing and are certain that it is secure and cannot be used to gain access to your physical hardware. I will be using Cloudflare’s reverse proxy docker software to allow me access remotely without having to expose my computer to the internet.
Requirements:
- Proxmox running on any PC / server or alternative
- Turnkey Linux Core container – either from within Proxmox containers or from their website
- Patients to make and fix mistakes
- Media / junk to run and play on Jellyfin
Not sure how to set up Turnkey Linux Core container on Proxmox? Checkout, this post on installing and saving it as a template on proxmox.
Jellyfin server can be installed on almost anything, including:
- Docker
- Windows
- Linux
- MacOS
- Even on a Synology NAS
For more info on how to install on other systems, take a look at the Jellyfin Website.
Prepare the Container:
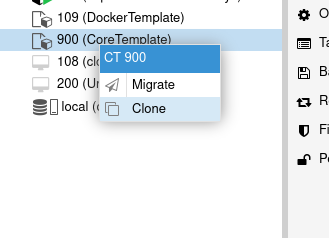
Firstly, we need to clone our Turnkey Linux Core template, right-click the “Core Template” and click “Clone”.
Choose a suitable name and container ID, if showing a red outline, then it did not like your input. For Mode, I chose Full Clone.
A linked Clone will save you space by allowing the new container to use the original template data and any new data is stored separately, I use a full clone as I have a habit of deleting and recreating templates, for more about linked clones see the help on Proxmox website.

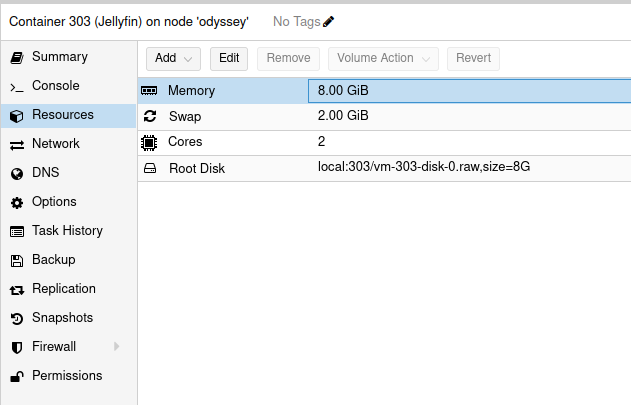
Once the clone has completed, head to the resources tab and check your Memory, CPU etc, I can see that 8 GB of space may not be enough for my media content, so I will be expanding that.
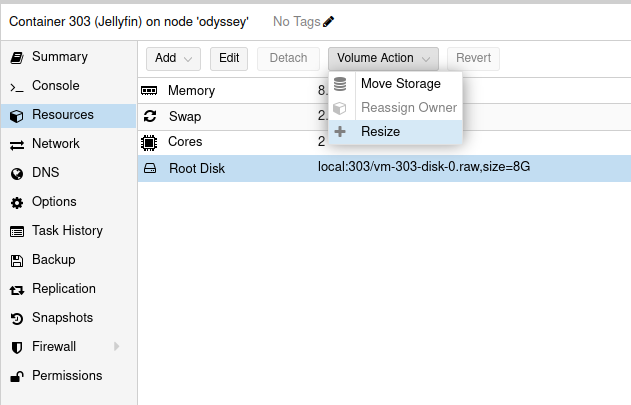
To resize the Root disk, highlight it and select the option above “volume action” then “Resize”.
Note that this is to add to the current volume, so if you input 32 GB it will increase it from 8 GB to 40 GB.
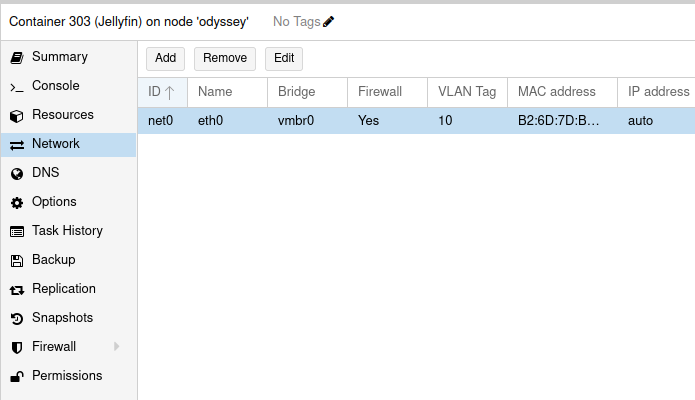
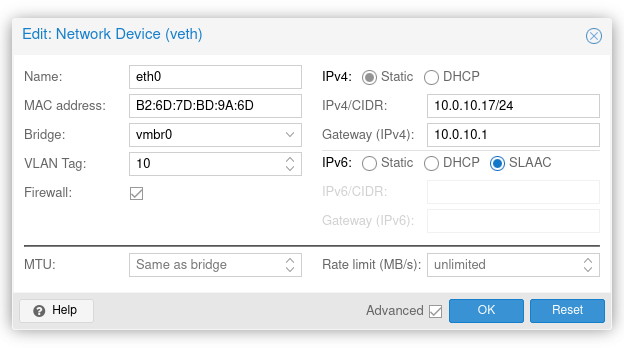
Next we need to set the networking information on the Network tab, double-click the net0 line
We need to set either a static or DHCP IP settings, or we would not be able to connect the container to our network.
Notice that I have inserted a VLAN tag, this is optional if you know about VLAN Tagging.
Once this is done, we can start the container by either right-clicking and selecting start or via the buttons at the top right of the page.
Install Jellyfin:
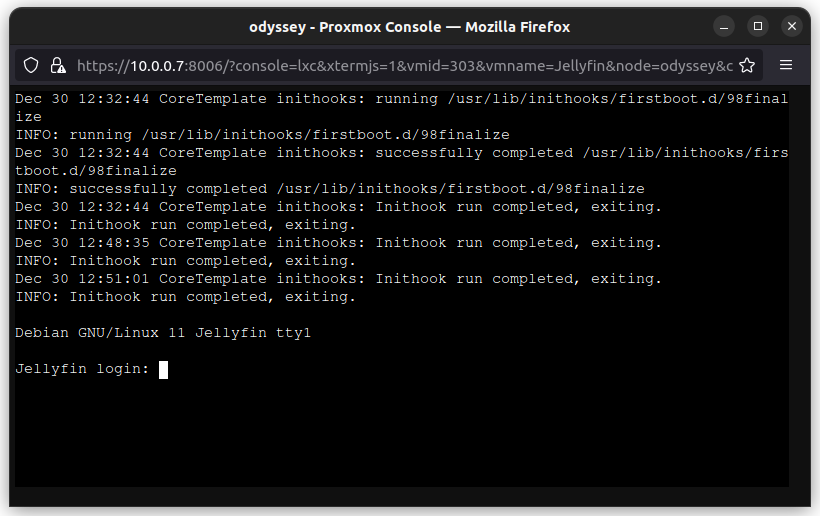
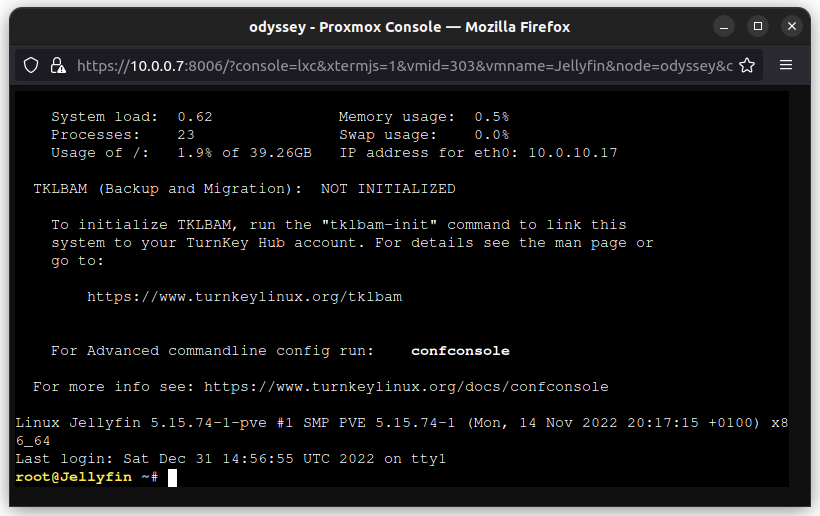
Double-click on the container to show the console window and login with the username “root” and the password you entered when creating the template.
If done correctly, you will see that, there were no errors logging in, that we have an IP address.
If you’ve not used the template in a while, just run this command. You many not have any updates to install:
$ apt updateNow we need to get the Jellyfin script from their site, so run the following:
$ curl https://repo.jellyfin.org/install-debuntu.sh | bash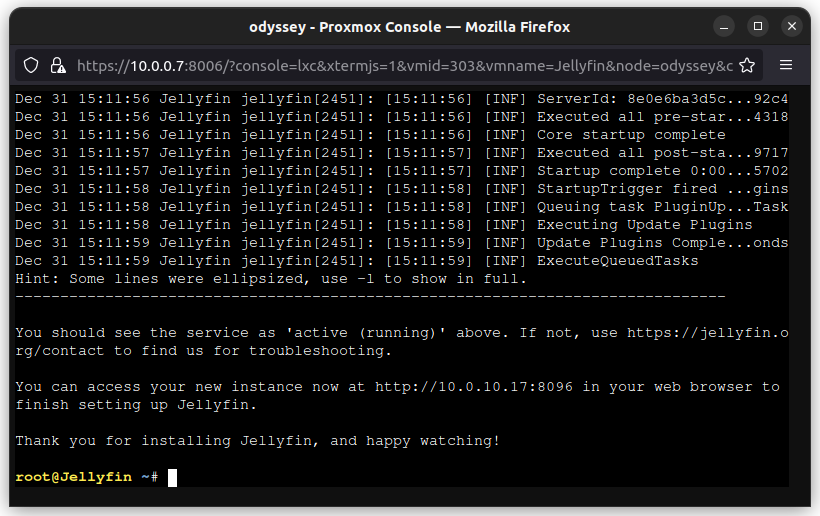
Well, it’s that easy, Jellyfin is installed.
If you want to test to check it’s all running fine, use the following command:
$ service jellyfin statusPress “q” to exit this screen.
You should get a nice notice saying “active (running)” in green.
First Time Running:
Now that we know it is installed and running we can head to the web browser and navigate to the following page, note to change this to your IP address as it will be different to mine:
http://10.0.10.17:8096If you don’t know the IP address of the container, just run the following command:
$ confconsole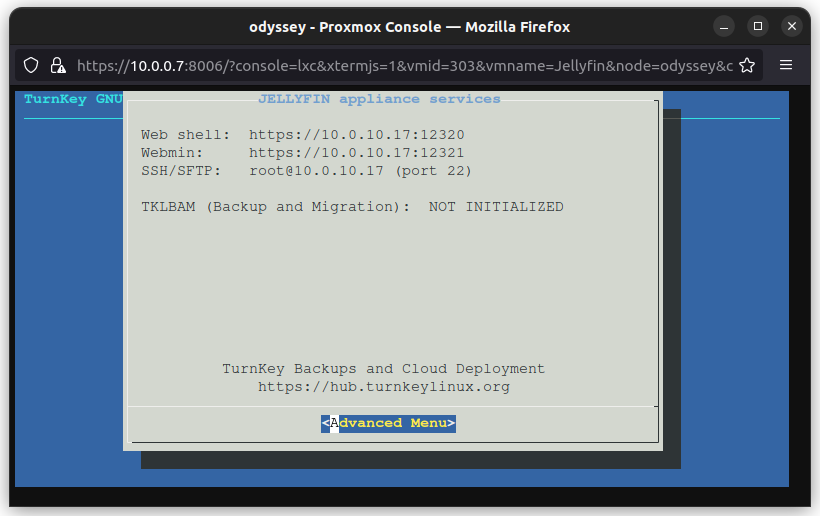
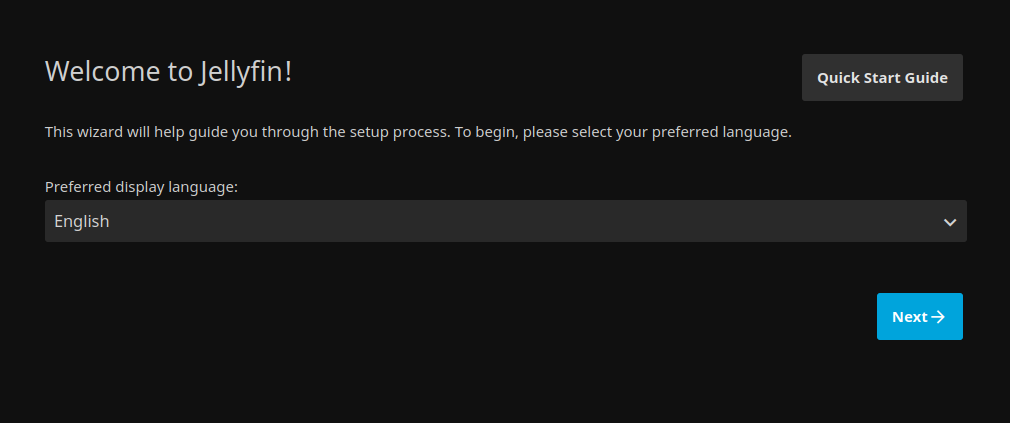
Navigating to the address given will show the “Welcome to Jellyfin” install guide.
Follow the onscreen instructions on getting the rest of the installation finished.
I hope your installation all went as planned, if you get stuck or run in to any errors, check out the following pages:
- Jellyfin Documentation – Documentation for the project, search bar at the top right if needed.
- Jellyfin Contact Page – Gives all the other areas of support, like Discord, Reddit, and others.
I hope you liked this tutorial, and you got what you needed from it.
Enjoy!
Chris!
Comments are closed